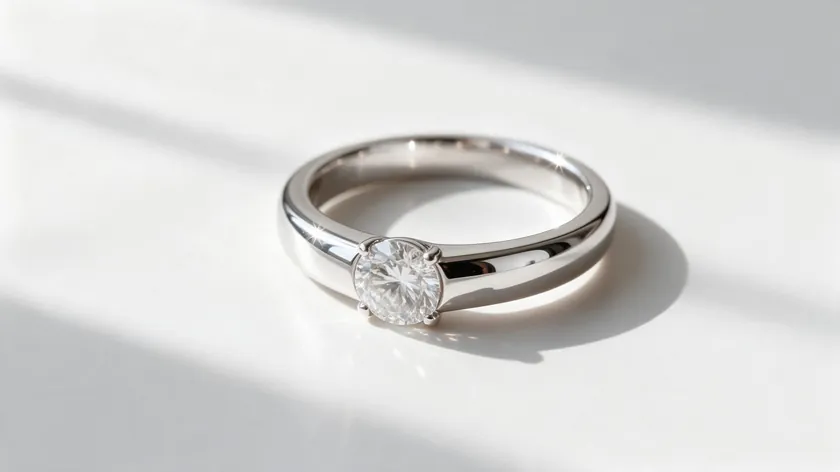
Learning how to photograph jewelry can feel like a daunting task. Unlike clothing or home goods, jewelry is tiny, highly reflective, and packed with details that either sparkle or disappear depending on your lighting, focus, and angle.
A single speck of dust invisible to the naked eye becomes a deal breaker at macro distance, and polished metal mirrors everything around it—including you.
This guide walks you through every step, from choosing the right lens to cleaning up the final photograph so your beautiful jewelry looks sharp, true-to-color, and professional on any e-commerce listing.
Table of Contents
- Jewelry Photography Equipment: Camera, Macro Lens, and Support
- Prepare the Jewelry: Clean, Inspect, and Style
- Jewelry Photography Lighting Setup: Diffused Light for Metal and Gems
- Control Reflections on Shiny Surfaces
- Sharp Focus and Focus Stacking for Tiny Details
- Angles and Styling by Jewelry Type
- How to Photograph Gemstones: Color, Sparkle, and Inclusions
- Backgrounds, Surfaces, and Styling Ideas for Jewelry Photography
- Cleaning Up Jewelry Photos: Dust, Reflections, and Backgrounds
- Workflow Tips for Consistent E-Commerce Jewelry Photography
- Common Jewelry Photography Mistakes
- Key Takeaways
- FAQ
Jewelry Photography Equipment: Camera, Macro Lens, and Support
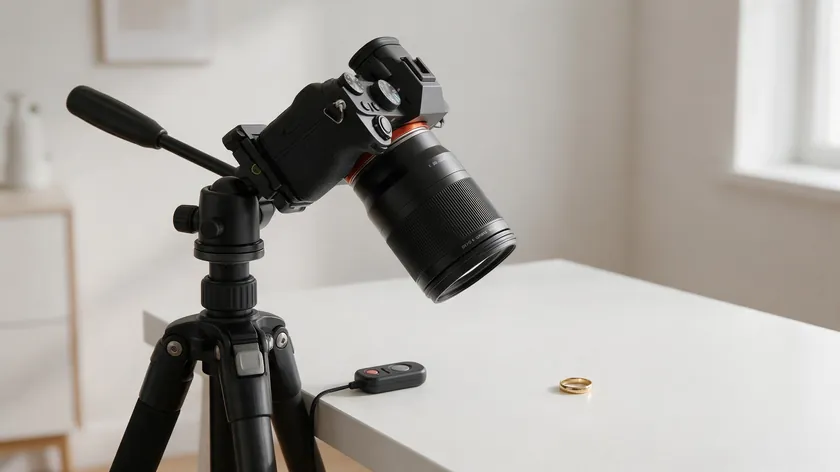
Both a phone and a dedicated camera can produce usable jewelry photos, but a DSLR camera or mirrorless body paired with a true macro lens gives you the most control over jewelry product photography.
Interchangeable lenses also let you swap between focal lengths depending on the piece.
A true macro lens provides 1:1 magnification, meaning the subject is projected at life size onto the sensor. That level of detail matters when you need to show prongs, pavé work, or engravings crisply.
A macro lens in roughly the 60–105 mm range is a common choice—the longer focal length lets you work further from the piece so your lighting and hands stay out of the way.
If you cannot invest in a macro lens right away, extension tubes are a budget-friendly alternative that increase magnification on lenses you already own.
If you are using a phone, enable its macro mode or attach a clip-on macro lens.
Phones are fine for lifestyle shots and wider angles, but they offer less control over depth, manual focus, and RAW capture—limits that show up fast in close-up jewelry photography.
Essential gear for jewelry photography includes a macro lens with at least 1:1 magnification and a sturdy tripod.
A tripod is essential for stable jewelry photography because any shake at close distances causes blur.
Pair it with a cable release or your camera’s two-second timer to eliminate vibration when pressing the shutter.
For detailed camera or phone settings (shutter speed, ISO, exposure), see our guides on phone product photography and white-background shooting.
Prepare the Jewelry: Clean, Inspect, and Style
Good preparation reduces heavy post-production work like cloning out dust or fixing twisted chains. A few minutes spent cleaning and positioning before shooting saves far more time than editing later.
Clean Jewelry and Remove Dust
Cleanliness is crucial in jewelry photography to prevent visible dust and fingerprints.
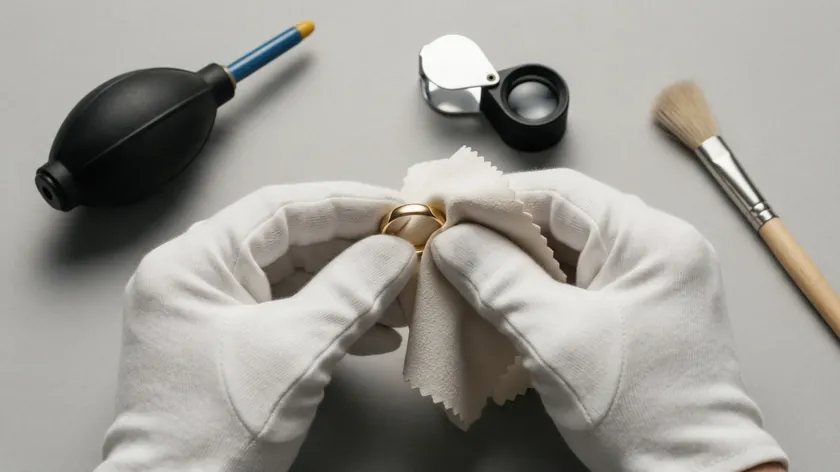
Wipe every piece with a soft microfiber cloth to remove oils and smudges from metal and gemstones.
For pieces that tolerate water—gold, platinum, most hard gemstones—a soft toothbrush and mild dish soap can lift grime from crevices.
Caution: pearls, opals, turquoise, amber, and other porous or delicate stones should never be soaked or scrubbed. Moisture can stain or damage them. Use a dry microfiber cloth and gentle dabbing instead—always check the material first.
Dust shows up dramatically when you photograph jewelry at macro distances. Use a blower bulb or lens brush right before every shot, and handle cleaned pieces with gloves or tweezers to avoid reintroducing fingerprints.
Inspect and Support the Piece
Inspect each piece under a desk lamp or loupe for lint, stray hairs, crooked clasps, and twisted chains. High-resolution jewelry photos will exaggerate anything you miss, so catch problems now rather than in post.
Use museum putty, dental wax, or clear fishing line to stand rings upright, float pendants, or stabilize earrings while keeping supports hidden from the camera.
An acrylic rod or a small piece of wax behind the band keeps a ring perfectly vertical without casting visible shadows.
General lighting principles—one-light setups, DIY backgrounds, basic fill—are covered in our ecommerce product photography guide and in product photography lighting. This section focuses only on what makes lighting for jewelry different.
Soft, indirect window light works well for photographing jewelry because it wraps around small objects evenly and flatters both metal and stones. Avoid direct sunlight, which creates harsh shadows and blown-out hot spots on reflective surfaces.
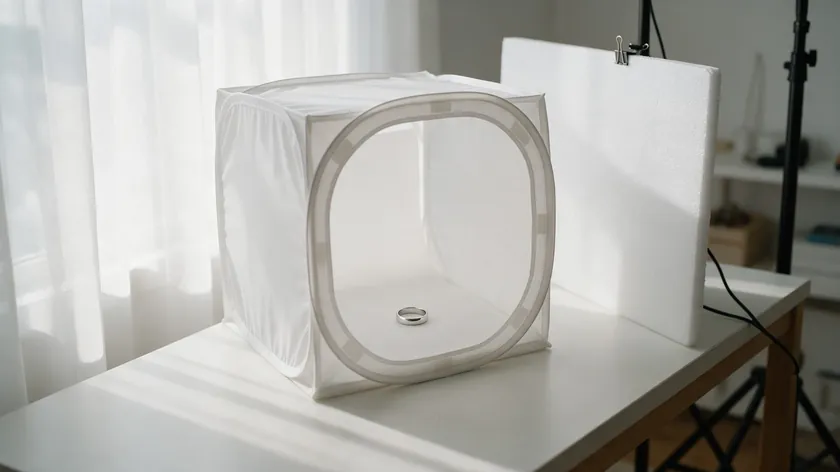
Use diffused light for even illumination. Sheer curtains, tracing paper, or a simple DIY light tent scatter the light source so reflections on shiny surfaces become smooth gradients instead of sharp glare.
A light cone made from translucent material can minimize reflections on curved or spherical pieces.
You can also try a bare bulb placed behind a sheet of acrylic for a soft gradient effect that wraps around the object naturally.
When using artificial light instead of natural light, match color temperature to preserve the true hues of your jewelry. Continuous LED lights with a high color rendering index (CRI) are ideal—low-CRI bulbs can shift how gold and gemstone colors appear.
Aim for daylight-balanced LEDs, often labeled around 5,000–5,500 K, so gold reads warm and silver reads neutral.
A small reflector—white foam board, a folded piece of printer paper, or white poster board—fills shadows under prongs and inside ring bands without adding extra lights. Good lighting is about controlling what is already there, not adding more.
For bringing out sparkle in faceted stones with accent lights, see the gemstones section below.
Control Reflections on Shiny Surfaces
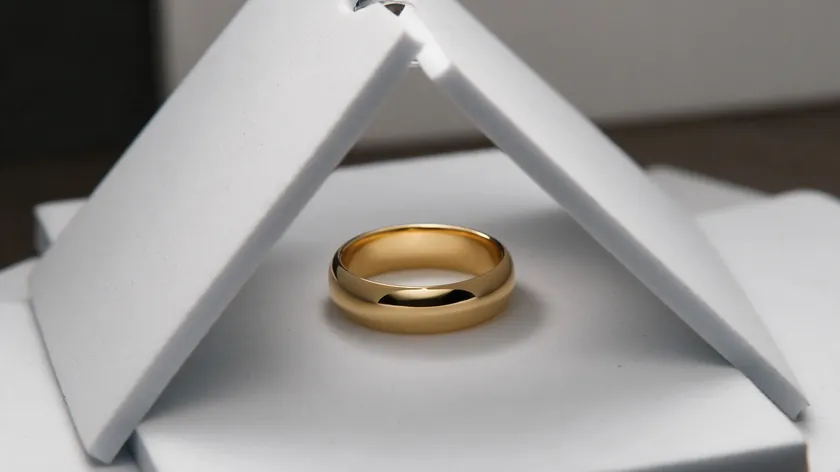
Polished metal behaves like a tiny mirror. Photographing jewelry requires managing extreme reflections and minute scales—your camera, shirt, ceiling, and even the window frame can appear on a gold band.
Jewelry acts like a mirror reflecting its surroundings in photographs, so controlling what the metal “sees” is the main thing that separates amateur shots from professional ones.
Start by wearing neutral or light-colored clothing. Surround the piece with white cards so metal reflects clean white instead of cluttered backgrounds.
A DIY white tent built from foam board panels with a small hole for the lens forces rings and bracelets to see mostly bright white on every side.
Slight angle changes make a big difference. Tilting the jewelry or camera by just a few degrees can remove an unwanted reflection of your face or a window from a band or bezel. Experiment a bit before locking down your composition.
Use matte surfaces under shiny jewelry to minimize reflections. Beginners should avoid glossy black acrylic under very reflective pieces—it creates double reflections of both the surface and the underside that are hard to manage. Matte white or light gray surfaces are safer starting points.
A circular polarizing filter can cut glare on non-metallic surfaces such as glass-like gemstones, but it does little for polished metal, because light reflected from metal is not polarized the same way. For metal, rely on diffusion and white cards instead.
Gemstones often need some crisp reflections to show faceting, while metal benefits from smoother, gradient reflections created by large diffused light sources. Keep this contrast in mind when adjusting your lighting setup.
Sharp Focus and Focus Stacking for Tiny Details
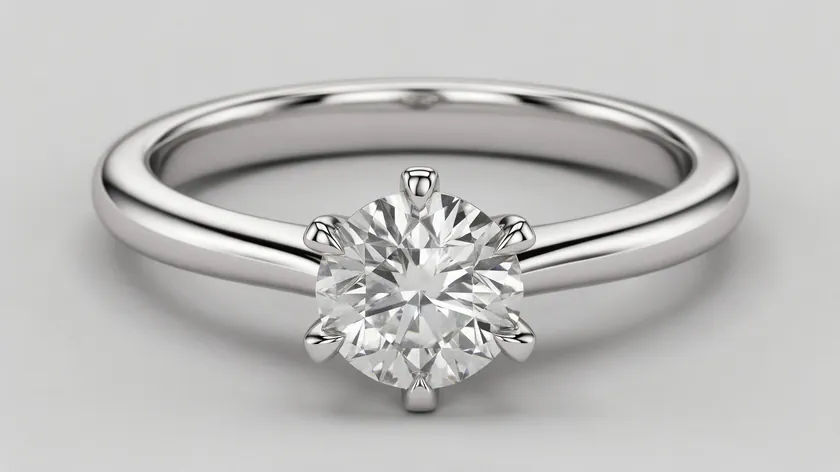
At close distances the depth of field is very shallow, so a diamond ring can look sharp on the stone and soft on the band even at a small aperture.
General camera settings—aperture, ISO, shutter speed—are covered in our white-background guide. Here we focus on nailing sharpness for jewelry specifically.
Single-Point and Manual Focus
Switch to single-point autofocus and place the focus point on the most important detail: the center stone, an engraving, or a logo. This prevents the camera from grabbing the background or the edge of the frame instead.
For very small pieces or loose gemstones, use manual focus in Live View at high magnification to nail critical focus.
A mid-range aperture is a common starting point because it balances depth of field with overall lens sharpness, since very small apertures can soften the image.
How Focus Stacking Works
Focus stacking combines multiple images for full sharpness across the whole image. It is essential for macro jewelry photography because even at a mid-range aperture, the depth of field at 1:1 magnification is only about a millimeter or two.
Here is the process:
- Mount the camera on a tripod and compose the shot—angle, framing, background.
- Set exposure, aperture, and ISO; lock those settings so nothing shifts between frames.
- Capture a series of frames, shifting focus gradually from front to back—for example, from the front prong of a ring through the stone top to the back of the band—in small, even steps.
- Merge the frames in focus-stacking software or your usual editing software.
The number of frames depends on the piece. A simple bezel ring needs fewer shots; a cluster setting with many stones at different heights needs more.
Some cameras have in-body focus bracketing that automates step three: you set the number of frames and step size, and the camera fires the whole sequence.
You still need absolute stability—any movement of the piece, tripod, or light between frames ruins the stack.
The final image should be sharp across all desired planes without halos or artifacts at the edges.
Angles and Styling by Jewelry Type
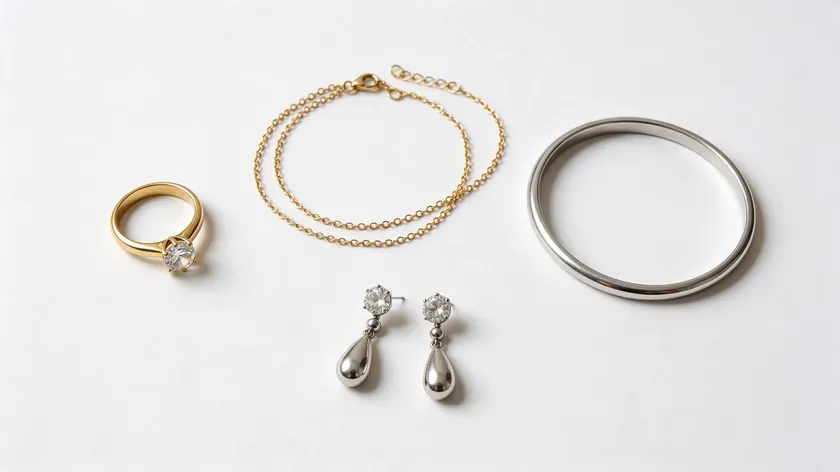
Different jewelry types need different angles to show size, detail, and how they are worn.
For e-commerce listings, plan at least one clean front-on image, one or two detail shots, and one styled or life shot per piece. Below is a quick-reference table, followed by deeper tips per type.
| Jewelry Type | Best Angle | Common Problem | Quick Fix |
|---|
| Rings | 3/4 above band showing stone and shank | Broken highlight lines on band | Rotate ring until reflections smooth out |
| Necklaces & Chains | Flat lay curve plus vertical hang | Tangled chain, ambiguous pendant scale | Smooth by hand; include clasp close-up |
| Bracelets & Bangles | Gentle oval; straight-on for cuffs | Rolling away; glare on curved metal | Use cylinder prop; add reflectors |
| Earrings | Front for studs; diagonal for hoops; hung for dangles | Posts unclear; mismatch in pair | Show both together; include side view |
Consistency across a collection—same main angle, height, and background—helps a shop look professional and reduces perceived risk for buyers. Taking photos with identical framing also makes batch editing faster. The sections below go deeper into each type.
How to Photograph Rings
Use a primary 3/4 angle shot just above band level to show both the stone and shank in one frame. This gives dimension and context that a flat top-down cannot.
Prop rings upright with a ring stand, acrylic cone, or museum putty hidden behind the band. For a top-down view, lay the ring flat to reveal the full halo, cluster design, or engraving around the bezel.
Add a side profile shot so buyers can see gallery height, prong alignment, and how far the ring sits off the finger. This is especially important for vintage and high-set designs.
Managing heavy reflections on bands is about rotation: turn the ring slowly until highlight lines become smooth and unbroken. This is critical on plain gold wedding bands where a broken reflection line draws the eye to imperfection.
How to Photograph Necklaces and Chains
A flat lay on seamless paper shows pendant scale and chain length naturally. Arrange the chain in a gentle curve—not a stiff geometric shape—so it looks the way it would drape on skin.
Hang necklaces vertically from a T-stand or tape them above the frame to show how pendants fall when worn, keeping the chain untwisted.
Tiny gaps in chains can blend into the background, and tangles or kinks look sloppy. Smooth by hand before each shot.
Include a close-up detail of the clasp and chain type—cable, rope, box, snake—for shoppers who care about durability and comfort.
For gemstone necklaces, add one tight macro shot of the main stone cluster to show cut, inclusions, and color zoning honestly.
How to Photograph Bracelets and Bangles
Photograph bracelets in a gentle oval rather than a tight circle so the shape feels natural and wearable. A simple cylinder prop—rolled white paper or an acrylic tube—mimics a wrist and keeps bangles from rolling while staying mostly invisible.
Shoot cuffs straight-on to show the opening size and gap, plus an inside view if there are stamps or hallmarks.
For charm bracelets, capture one overall shot and separate close-ups of key charms so details are legible even in small thumbnails.
How to Photograph Earrings
Studs, hoops, and dangles each need distinct angles. For studs, shoot dead-on from the front on a card or minimal stand, plus a side view to show post length and backing type.
For hoops, a slight diagonal reveals both the circle shape and the wire thickness and clasp. Dangle earrings should hang from a horizontal bar or card so they fall naturally—avoid twisting and overlapping chains.
Always include at least one pair shot showing both earrings together. This reassures buyers that the two match in color, length, and symmetry.
How to Photograph Gemstones: Color, Sparkle, and Inclusions
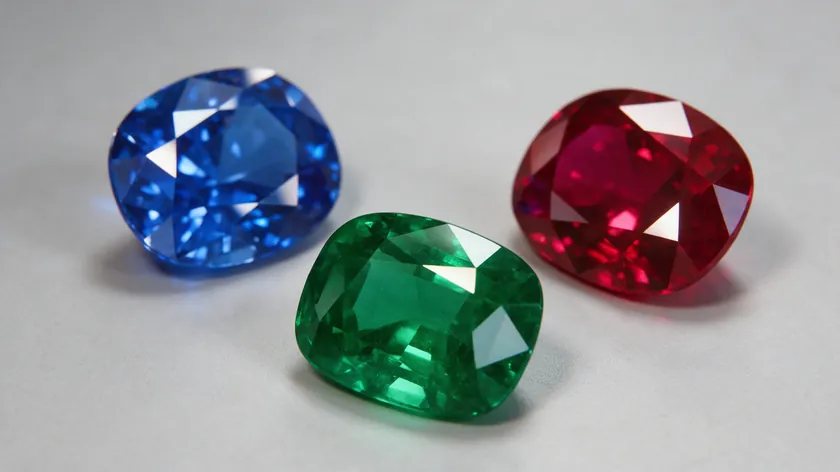
Gemstones present their own challenges beyond metal: accurate color, truthful inclusions, and capturing that flash of life without exaggeration. A simple three-light approach—a main diffused light, a fill, and a small accent—helps bring out sparkle.
Bring Out the Sparkle
Slightly angle faceted stones toward the light source to encourage internal reflections and “fire.” A small accent light—a bare LED, a snoot, or a focused flashlight—aimed at a diamond or colored gem brings out bright facet reflections that the main diffused lighting alone cannot produce.
Adjust the angle until facets catch the light; one tiny shift can transform sparkle dramatically.
Keep Color and Inclusions True to Life
Shoot in RAW format for better post-editing flexibility, especially with colored stones.
Use consistent white balance—set a custom value with a gray card—and avoid oversaturating emeralds, sapphires, and rubies in post.
Lighting should be matched in color temperature to preserve the true hues of the jewelry.
Some inclusions are part of a stone’s character. In its gem photography tips, GIA says not to remove inclusions or change the true appearance of the stone when editing.
Post-process only as much as needed to maintain realism. If a buyer can see an inclusion in person, they should see it in the photo.
Backgrounds, Surfaces, and Styling Ideas for Jewelry Photography
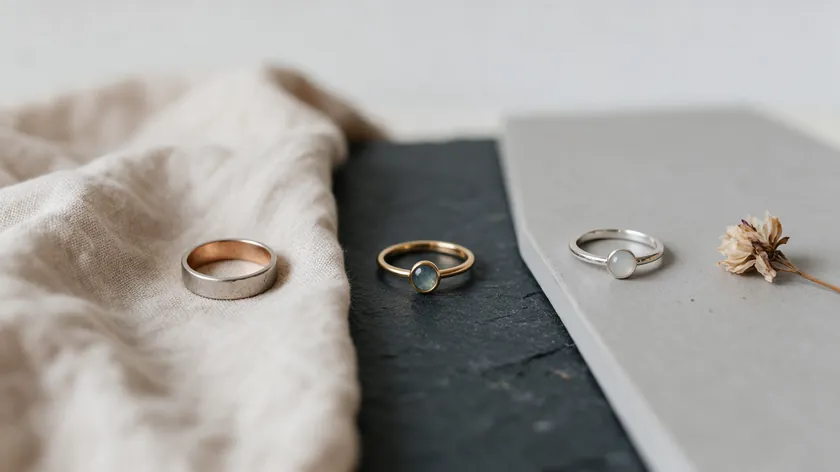
Use a neutral, uniform background for jewelry photography—white, light gray, or soft beige—so the jewelry remains the hero.
Colored cardstock can add a modern pop without distraction, and textured surfaces like linen or slate can reinforce your brand identity.
Textures should complement jewelry without competing for attention; avoid busy backgrounds that distract from jewelry details.
Reflective surfaces like a black background in glossy acrylic can create elegant mirror effects, but they also produce double reflections that are hard to manage for beginners. Unless you have tight control of lighting and angle, stick with matte surfaces.
Limit props to one or two: a ring box, a neutral stone, or a dried flower. Too many items pull attention away from the piece. For marketplace-specific rules on pure white backgrounds, see our White Background for Selling Items guide.
Cleaning Up Jewelry Photos: Dust, Reflections, and Backgrounds
The full editing workflow—batch processing, color grading, export—lives in our How to Edit Product Photos guide. Here we cover only what makes jewelry cleanup different.
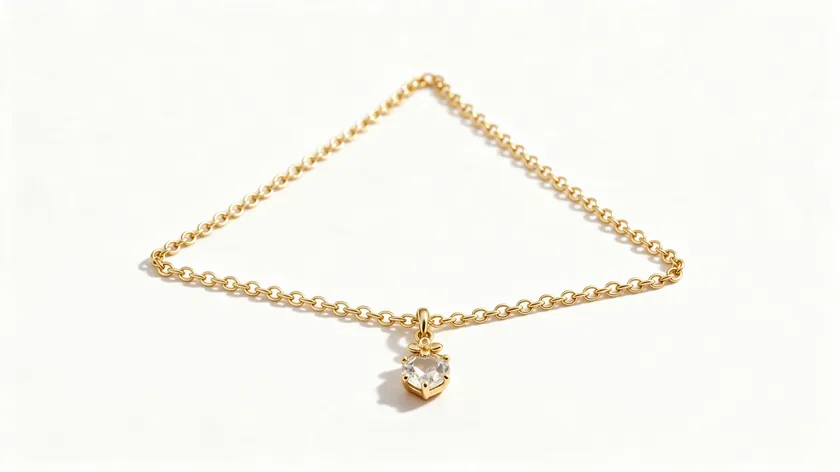
Typical jewelry fixes include removing dust and lint that appeared despite your best efforts and correcting color cast on gold or silver caused by environmental reflections.
Cutting out jewelry is harder than cutting out larger products. Fine chains have tiny gaps that blend into the background.
Filigree, open prongs, and halos create intricate edges that basic selection tools struggle with.
Translucent gemstones can pick up background color, making clean separation even trickier.
RemoveBackground.app handles these precise AI cutouts around chains, prongs, and stone edges, then lets you export to pure white or a transparent PNG depending on the platform.
For the full background-removal workflow—including shadows, batch processing, and export settings—see our Remove Background From Product Photography guide.
Shadow removal specifically is covered in our shadow removal guide, so this section stays focused on the edit challenges unique to jewelry.
Workflow Tips for Consistent E-Commerce Jewelry Photography
Shoot in small batches by collection—for example, all sterling silver rings from one line—using the same lighting, background, and angles for consistency.
This makes your shop page look cohesive and reduces setup time between pieces.
Include at least one image per piece that shows scale, such as on a hand or neck, so buyers understand the real size and avoid returns.
For the full shoot plan and shot list, check the ecommerce product photography guide.
Save custom camera presets or phone “looks” so white balance, contrast, and sharpness stay consistent across several photos in your jewelry business.
Test how your pictures look on real product pages—zoom out to thumbnail size and check whether the main details still read.
If the stone or key feature disappears, adjust your crop or angle.
Marketplace image sizes and rules are covered in the individual RemoveBackground.app size guides for Amazon, Etsy, Shopify, and eBay. For before-and-after examples by product category, see the Product Photography Examples post.
Common Jewelry Photography Mistakes
| Mistake | Why It Hurts Sales | Quick Fix |
|---|
| Harsh direct light causing hot spots on metal | Blown-out highlights lose detail and make metal look flat | Use softboxes or diffusion materials; avoid direct light |
| Reflections of photographer or room in polished bands | Breaks the illusion of clean polish; distracts buyers | Use white cards, a light tent, and adjust camera angle |
| Dust and fingerprints visible at macro distance | Looks unprofessional; reduces buyer trust immediately | Clean jewelry thoroughly before shooting; use blower and gloves |
| Soft focus on tiny details like prongs and engravings | Undermines perception of craftsmanship | Use tripod, manual focus, and focus stacking |
| No scale reference so buyers cannot judge size | Leads to returns and disappointment | Include an on-model shot or known-size reference |
| Gold or silver with wrong color cast | Misrepresents material; raises doubt about authenticity | Use daylight-balanced, high-CRI studio lighting; set custom white balance |
Most of these mistakes come down to rushing. Spending an extra five minutes on preparation, lighting, and focus before pressing the shutter will save you far more time than trying to fix problems afterward.
When in doubt, slow down, take great pictures of fewer pieces per session, and review each image at full resolution on your screen before moving on to the next object.
Sharp, true-to-color jewelry photos with a clean white background build trust and help buyers decide.
Every step in this guide—from cleaning the piece to removing the background—works toward that same goal: showing your jewelry exactly as it looks in life, just with better lighting.
Key Takeaways
- Prioritize clean, well-lit shots of each piece on a simple surface before experimenting with creative jewelry photography ideas.
- Use a macro lens or your phone’s macro mode plus a tripod for sharp close-ups; add focus stacking for extra detailed jewelry photos.
- Control reflections on shiny surfaces (gold, silver, polished stones) with diffused light, white cards, and careful camera angles.
- Change your angles and styling depending on whether you photograph rings, necklaces, bracelets, or earrings.
- Use RemoveBackground.app to quickly cut jewelry off any backdrop, especially around chains, prongs, and translucent gemstones.
These tips work whether you are shooting your first pair of earrings or photographing an entire collection. Start with the basics—clean pieces, soft light, a solid tripod—and build from there.
Upload your jewelry photos to RemoveBackground.app for clean HD background removal, one image or a full collection.
FAQ
Can I photograph jewelry using only natural light?
Yes. A bright but indirect window—north-facing if possible—with sheer curtains works well for most jewelry photography, as long as you avoid direct sunlight and use a white reflector to fill shadows on the opposite side.
Window light provides a large, soft light source that flatters both metal and stones without expensive studio lighting equipment.
What is the best camera for jewelry photography?
Any recent interchangeable-lens camera paired with a true macro lens will usually outperform a phone for close-up jewelry product photography thanks to better optics, RAW files, and focus control.
Look for a body that supports focus bracketing and choose a macro lens in the 60–105 mm range with 1:1 magnification for the sharpest detail shots.
Do I really need a macro lens to photograph jewelry?
You can start without one, but a macro lens (around 60–105 mm with 1:1 magnification) makes it much easier to fill the frame with small rings, earring studs, and gemstone details while staying sharp edge to edge.
If budget is tight, extension tubes give you increased magnification on lenses you already own.
How do I stop reflections on shiny jewelry?
Surround the piece with white cards, use large diffused light, and tilt the jewelry or camera slightly until unwanted reflections disappear from bands and bezels.
A polarizing filter can help with glare on glass-like gemstones, but polished metal is better controlled with diffusion and white cards.
What background color works best for online jewelry listings?
Many marketplaces ask for a clean white or very light neutral background on main listing images, while colored or textured surfaces suit secondary lifestyle shots.
Check each platform’s current rules and see our White Background for Selling Items guide for detailed advice.