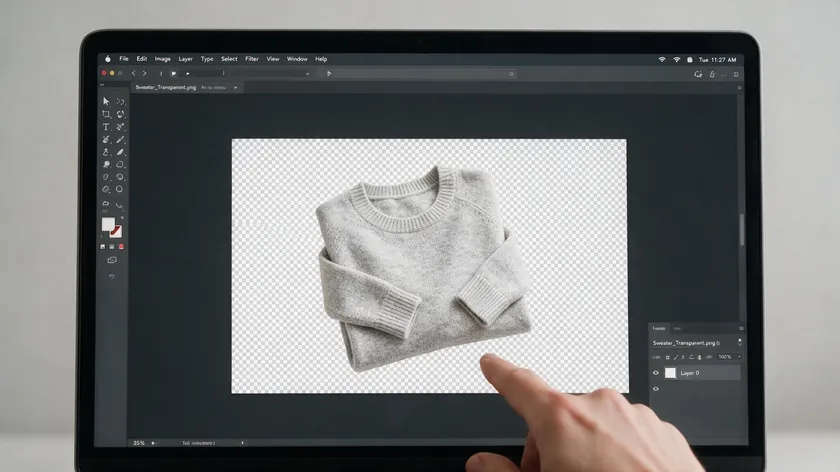
If your PNG file displays a gray-and-white checkered background in every app you open it in—not just inside your design editor—the checkerboard pattern is baked into the image itself. That means the file has no actual transparency; the grid is part of the pixel data.
The good news: you can still fix it by treating that checkerboard as a normal image background and running background removal on it.
The fastest option is uploading the file to a PNG background remover like RemoveBackground.app, which can automatically remove the checkered background and let you download a truly transparent PNG image. For trickier cases where the subject blends into the grid, alternative workflows—manual selection, vector tracing, or recoloring to a new color—can help.
Once the checkerboard is gone, you can continue editing: drop the cutout onto a new image background, run it through an AI background generator, or save it as a properly formatted transparent PNG for any project without the grid reappearing.
Table of Contents
Why your PNG is showing a checkered background
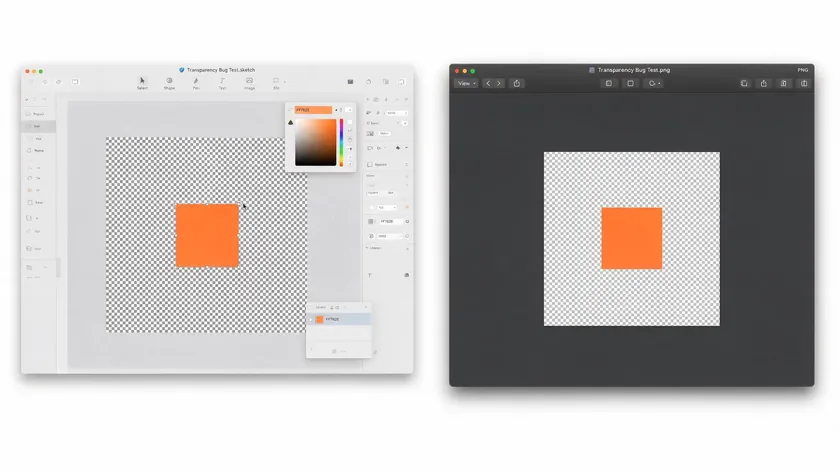
The gray-and-white grid that design tools display on their canvas is just a transparency preview—a visual cue showing where no pixels exist. But if you see that same pattern after you save, export, or download the PNG file, the checkerboard has been flattened into the actual pixel data.
A checkered background can indicate either transparent pixels or a solid pattern, depending on context. When it’s baked in, the image has no alpha channel carrying real transparency information. Removing a checkered background in this situation indicates that the image was never truly transparent to begin with.
This problem has grown more common between 2023 and 2026. AI image generators sometimes output preview files where the checkerboard is rendered as pixels rather than stored as transparency. Stock marketplaces occasionally serve flattened previews that look transparent on the website but arrive with the grid embedded.
And users still screenshot editing canvases—capturing the transparency grid along with their graphic elements—instead of using the proper export or download button.
This guide focuses narrowly on that baked-in checkerboard scenario. We have separate tutorials covering how to remove the background in Photoshop, PowerPoint, Word, on iPhone, for logos specifically, and for saving images with a transparent background—so we won’t repeat those platform-specific menu steps here.
Think of a 2024 stock graphics download that looks transparent in the preview but arrives with a visible checkerboard once you open it in your operating system’s image viewer. That’s the exact problem this article solves.
How to quickly fix a checkered PNG with an online PNG background remover

If you’ve been wondering how to remove checkered background from PNG files, the most direct answer is to treat the grid like any other patterned background and let a background remover strip it away. Automated AI tools can quickly remove background patterns from images, and PNG background removers create transparent images in seconds.
Here’s the quick workflow:
- Open RemoveBackground.app in your browser.
- Upload the PNG with the baked-in checkerboard. Most tools accept uploads in JPG, PNG, HEIC, or HEIF formats.
- Wait a few seconds while the tool detects your subject—logo, product, icon, and character—and erases the checkered pattern around it.
- Download the result as a transparent PNG image with a real alpha channel.
The tool is built to recognize repeating patterns like checkerboards as background, so the foreground subject usually stays intact while the grid disappears. Automatic background removal tools save time in editing—what might take thirty minutes of manual cleanup can finish in seconds. After downloading, you can continue editing: place the cutout on a solid color background, swap in a new background, or prepare it for export using any of our platform-specific guides.
Background removal tools can save hours of editing time, especially if you’re processing a batch of fake PNGs from a single source.
Step-by-step: Remove a baked-in checkerboard from a PNG
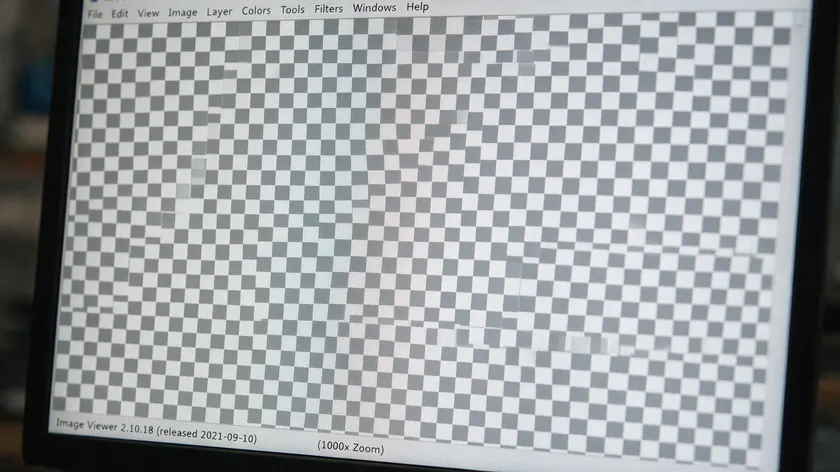
For readers who want to understand each step before uploading, here’s a more detailed walkthrough that works regardless of your device or operating system.
- Inspect the file. Open the PNG in your system’s default image viewer (not a design editor). Zoom in. If you can see distinct gray and white squares at the pixel level, the checkerboard is real—not a transparency preview.
- Upload to the background remover. Drag and drop the file onto RemoveBackground.app. The tool will analyze the image dimensions and separate the subject from the background automatically.
- Review the result. The AI should strip away the checkerboard and leave only the subject with transparent pixels behind it.
- Export as PNG. Download your edited image as a PNG file for transparency. You can download images as high-resolution PNG files post-editing, preserving the quality of your original graphic.
If the subject’s edges are complex—hair, fur, semi-transparent objects—you might need a second pass. Run the image through background removal again or refine it in your preferred editor using selection brushes to clean up any leftover grid artifacts along curved edges.
Test the result by placing the new PNG on different solid backgrounds: white, black, and a bright color like blue or orange. This confirms that no light gray squares remain around the subject. For most PNGs from 2020–2026-era design sites, the entire process takes under a minute.
Common sources of “fake PNGs” and checkered backgrounds

Knowing where baked-in checkerboard images come from helps you avoid the problem in future projects so you don’t have to keep fixing the same issue.
Grabbing a screenshot of your editing canvas captures the transparency grid as real pixels rather than exporting a file with an alpha channel.
Stock marketplace previews.
Some stock sites display a transparent-looking preview, but if you right-click and save the photo instead of using the official download button, you get a flattened PNG with the checkerboard baked into the RGB data.
Older exports from legacy editors.
Software from the early 2010s sometimes couldn’t save proper alpha channels, flattening layers onto the default checkerboard layer.
AI-generated “transparent” images.
Many AI tools between 2023 and 2026 output files that appear transparent in the UI but encode the grid as actual pixels in the PNG format.
To avoid new fake PNGs going forward, always use the site’s official PNG download button, never screenshot editing canvases, and confirm that transparent areas appear as a solid color (not checkered) in your system’s image viewer.
Even if you accidentally end up with a fake PNG, a single background removal pass can usually repair it.
Dealing with difficult checkerboards: when automatic removal isn’t perfect
Sometimes the subject’s colors are very similar to the checkered background—think gray logos, pixel art, or thin outlines made of light tones. In those cases, fully automatic background removal might leave small grid squares behind or accidentally cut into the subject.
- Adjust background removal strength or tolerance if the tool offers that control. A slightly higher threshold can catch lighter gray squares that a default pass misses.
- Alpha channel and luminance mask techniques are useful for semi-transparent checker backgrounds, especially when the subject has translucent areas that overlap the grid.
- Zoom in and manually erase leftover checkerboard squares, or run a second pass targeting the specific light-gray and dark-gray pattern colors.
- View the result against a black background, a white background, and then a bright new color to quickly spot any remaining grid artifacts or jagged edges.
In truly complex cases—like 8-bit icons from 2012 with checkered shading built into the art—the best approach is to trace or redraw the graphic in a vector tool rather than cleaning every square pixel by pixel.
These edge cases are rare, though. Most modern PNG graphics clean up well with a single background removal pass.
Manual cleanup tips after background removal
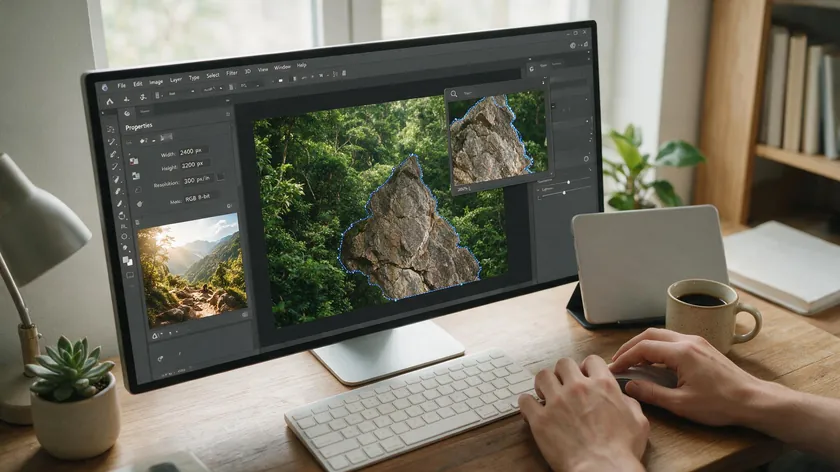
Even strong AI background removal can leave a few faint checkerboard pixels, especially along curved edges and fine details. A bit of manual work turns a “good enough” result into professional results.
- A magic wand or quick-selection tool is effective for high-contrast checker backgrounds—click a leftover gray square and delete it instantly. A color-range or tone-based selection tool provides precise control for editing checkered backgrounds where contrast is lower.
- Apply a small feather or anti-aliasing effect to the subject’s edges to smooth out any staircase artifacts left by the removed grid.
- Slightly expand the selection inward before deleting the background to clip away thin border pixels that blended with the checkerboard.
Save intermediate versions. Export the automatically cleaned PNG first, then manually refine a copy. This way you can revert quickly if you erase part of the subject by accident.
Non-designers should keep edits simple: focus only on obvious checkerboard residues and jagged edges, and avoid heavy retouching that might blur logos or text.
A little manual cleanup often turns a basic automatic cutout into a polished, professional-looking asset ready for any presentation or website.
Changing the background after the checkerboard is removed
Once the checkerboard is gone and the PNG has a real transparent background, you can place it on any new image background or solid color background without reintroducing the grid. You can add a new background after removing the original—no extra steps required.
- Drop the cutout onto a solid brand color to create clean social graphics or e-commerce listings.
- Build a new image background using gradients, textures, or lifestyle photos, then layer the transparent PNG on top.
- Use an AI background generator to create realistic scenes—like a studio backdrop or outdoor setting—and composite the subject onto them.
For teams that already pay for a full desktop suite, tools like Photoshop let you composite with full layer control. Canva’s background remover works in a similar way, but it only runs inside an active paid Canva subscription, so it mainly makes sense for teams already paying for that broader suite.
Dedicated background removers can be a more practical option when the only task at hand is fixing a baked-in checkerboard without needing to manage a separate design subscription just for that.
Transparent PNG images can be used across various designs. Because the file now has proper transparency, you can overlay it on videos, presentation slides, or web interfaces without visible boxes or checkerboard ghosts around the subject.
The fixed PNG becomes a flexible design element that slots into any project—social graphics, app UI, or print layouts—once the checkerboard is removed.
Table: Is your checkerboard background real or just a preview?
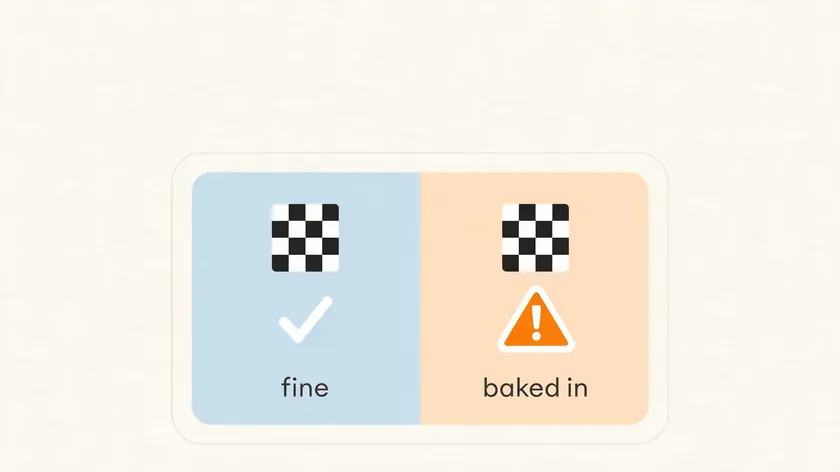
Readers often confuse the transparency preview inside their editing app with a baked-in checkered background in exported PNGs. This table helps you tell the difference in under a minute.
| Where you see the checkerboard | What it means | What to do | Can a PNG background remover help? |
|---|
| Only on your design or editing app’s canvas, not in downloads | Normal transparency preview—your file is fine | Export as PNG with transparency enabled; no fix needed | Not necessary—your PNG is already transparent |
| In every app, including your OS image viewer | Checkerboard is baked into the pixel data | Upload to a PNG background remover to strip the pattern | Yes, treat it like any patterned background |
| In a screenshot you took of your editing tool | You captured the canvas grid as pixels | Re-export from the original file or run background removal on the screenshot | Yes, but re-exporting is cleaner |
| In a PNG downloaded from a stock site or AI tool | “Fake PNG”—transparency was never saved | Upload to a background remover, then download a new image with real transparency | Yes, this is the most common use case |
If the checkerboard appears only inside your editor, your file already has real transparent pixels and nothing needs fixing. If it shows up everywhere else, you’re dealing with the baked-in problem this entire article addresses—and background removal is the solution.
When to re-create the image instead of fixing the PNG
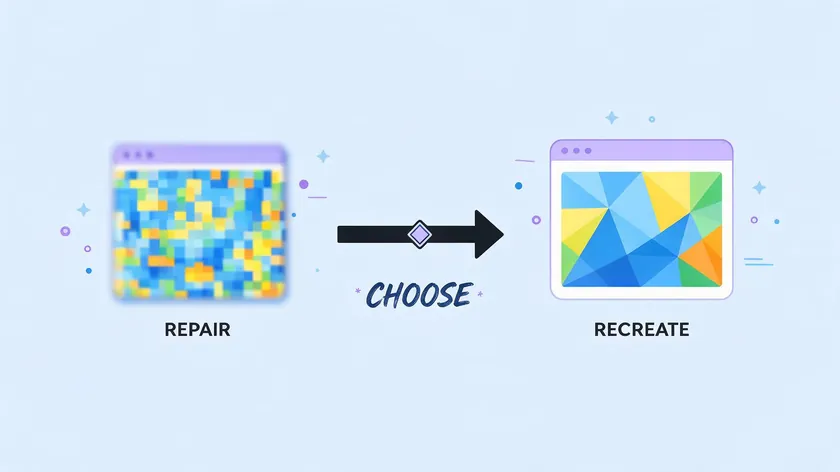
Some PNGs with checkered backgrounds are so low-resolution or heavily compressed that background removal won’t yield professional results, especially for logos and small icons.
- The subject is under 300×300 pixels, leaving too few pixels for clean edge separation.
- Text edges are unreadably blurry after background removal, meaning the source quality was already poor.
- The checkerboard pattern is mixed into shadows and gradients inside the subject itself, not just behind it.
Alternatives: re-download a higher-resolution version from the original source, ask a designer for the original vector or layered file, or manually rebuild simple graphics from scratch using shapes and text tools. You can also convert an existing logo to vector format in a vector editing tool to generate a fresh, scalable version.
Even in these cases, trying a PNG background remover first is low-effort and may still produce a usable temporary asset while you track down or rebuild the original. For very old, tiny, or heavily compressed PNG assets, though, set realistic expectations—background removal can’t enhance detail that was never there.
How this fits with our other background removal guides
This article focuses narrowly on one problem: baked-in checkered backgrounds in fake PNGs. It doesn’t cover general transparency concepts or platform-specific editing steps.
- We offer separate guides for removing image backgrounds in Photoshop, PowerPoint, Word, on iPhone photos and for making logos transparent—each with dedicated menu-level instructions.
- Those guides assume your PNG already has real transparency. In the checkered-background scenario, you first need to restore that transparency via background removal before jumping into any platform-specific workflow.
- After fixing your fake PNG here, explore the appropriate platform guide if you plan to continue editing or sign off on the asset inside a specific app.
This guide works as a companion to our broader background removal resources—fix the checkerboard first, then move into your normal editing flow.
Key Takeaways
- A visible gray-and-white checkered background inside your PNG is usually baked-in artwork from a fake PNG or screenshot, not a true transparency grid.
- You can repair these files by treating the checkerboard as a normal image background, uploading them to a PNG background remover, automatically removing the checkered background, and downloading a new PNG with real transparency.
- For tricky images where the subject blends into the checkerboard, combine automatic background removal with alternative workflows like manual selection, vector tracing, or recoloring to a new color, plus visual checks on multiple solid backgrounds.
- Once the checkerboard is gone, you’re free to continue editing—drop the subject on a new image background, use an AI background generator, or recolor the canvas to any new color without the grid returning.
To clean up your own “fake PNG” right now, head to RemoveBackground.app, upload the file, and download a truly transparent PNG in seconds. Start a 7-day trial to fix every fake PNG in your library the same way.
FAQ
Why does my PNG still show a checkered background after I remove it?
If the checkerboard reappears after editing, the file was likely re-saved onto another checkered layer or exported without transparency enabled. Some editors default to flattening layers on export, which bakes the grid right back in. Double-check that you’re exporting as PNG with transparency—not as JPG or a flattened PNG on a patterned layer.
Run the new file through the PNG background remover once more, then test it by dropping it onto a plain white slide or web page to confirm the grid is truly gone.
Can I use JPG instead of PNG after removing the checkered background?
Transparency cannot be preserved when exporting as JPEG. Any transparent areas will be filled with a solid color—usually white—the moment you save as JPG. JPG is fine when a solid background is acceptable, like for social media posts or email banners.
Keep a master copy as a transparent PNG so you don’t have to repeat the background removal process later. Export to JPG only as a final delivery format when transparency isn’t needed.
Will background removal damage the quality of my logo or text?
Automatic background removal works at the pixel level, so very thin lines or small text can appear slightly softer if the edges are heavily refined or the source file is low-resolution. Using high-resolution source PNGs minimizes this risk, and doing minimal manual cleanup helps preserve sharpness on brand text and icon edges.
For mission-critical brand assets, test the result on both dark and light backgrounds to ensure readability before using the file in production.
Is it safe to use PNG background removers for client images?
Review the privacy and data retention policies of any background remover you use, especially when handling client work or sensitive product shots. As a general practice, keep local backups of the original PNGs and only share links or exports you’re comfortable storing online.
For most everyday marketing and social media images, background removal is a standard step in modern creative workflows and poses minimal risk when handled through reputable tools.
What if the checkerboard is actually part of the design?
Some graphics intentionally use checkered or grid patterns as decorative elements—think retro-style illustrations or pixel art. Removing that pattern would change the design rather than restore transparency. Confirm with the designer or client whether the checkered pattern is decorative before stripping it away.
If the checkerboard is decorative but distracting, you can experiment with muting its opacity or replacing it with a simpler background after duplicating the original design—that way, the artwork stays intact while the visual noise is reduced.