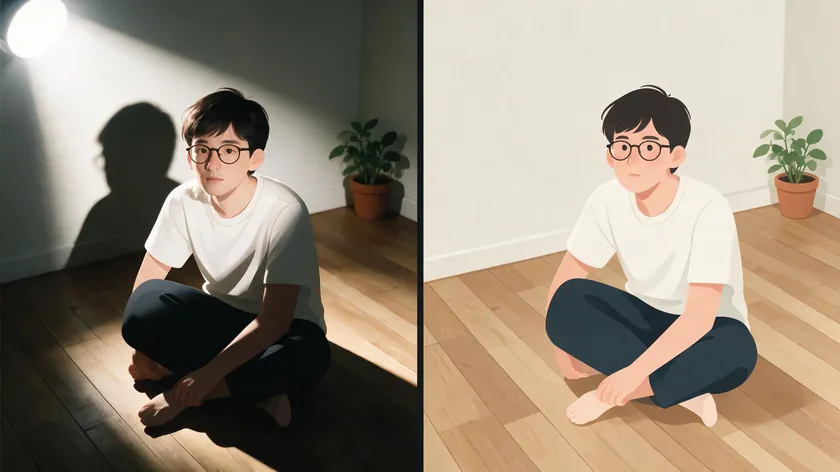
Removing a shadow from a picture is fundamentally a lighting fix. You are not deleting the background or swapping it for something new; you are correcting dark areas caused by uneven lighting so the subject looks clean and natural.
This matters more than most people realize—unwanted shadows on a face can get a passport photo rejected, a harsh drop shadow under a product can make an online listing look unprofessional, and a dark patch across a selfie can ruin an otherwise great moment.
AI-powered tools are now the fastest way to remove shadows, letting anyone upload an image, letting artificial intelligence analyze the shadow areas, and downloading a corrected version—often without touching a single slider.
For trickier cases, manual methods like selective adjustments, curves, and retouching brushes give experienced editors the control they need. Which approach works best depends on the type of shadow (soft versus harsh, small versus large) and the original image quality.
Table of Contents
What “Removing Shadow from a Picture” Really Means
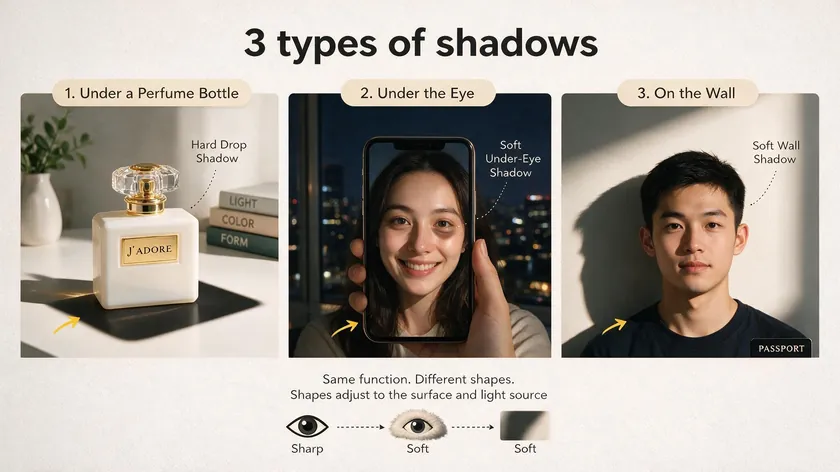
Shadow removal means brightening or blending dark shadow areas while keeping the texture, color, and natural contrast of the image intact. Think of a hard drop shadow under a perfume bottle on a white backdrop, a dark patch under someone’s nose in a noon selfie taken in bright sunlight, or a strong wall shadow behind a passport photo subject.
Each presents a different challenge—but the goal is the same: make the lighting look even without flattening the picture.
“Remove shadow” doesn’t always mean erasing it completely. In many cases, the aim is to soften and blend so the shadow no longer draws attention. Removing shadows effectively depends on the background complexity—simple white backdrops are far easier to correct than patterned fabrics or textured walls.
Shadows should not be made the same brightness as the surrounding area immediately, because that kills the natural lighting and makes the edit look artificial.
This is distinct from background removal. Here, the background usually stays; only the distracting shadow goes. Extreme or very complex shadows—like tree branches cast across a face—are harder to fix perfectly and often need both AI tools and some manual retouching to produce natural-looking results.
Fastest Way: Use an AI Photo Shadow Remover in Your Browser

Modern AI tools can detect and remove shadows from a picture automatically, even for users with zero editing skills needed. A typical workflow looks like this: upload a JPG or PNG, let the AI analyze the shadow areas using trained AI models, apply one-click shadow removal, then download the corrected image at its original resolution.
AI tools can analyze lighting and reconstruct missing textures instantly, thanks to advances in physics-based shadow image decomposition.
These browser-based tools require no software installation, work on desktop and mobile, and preserve fine detail. A shadow remover app like this handles both subtle face shadows and stronger shadows on backgrounds.
Dedicated mobile apps can handle quick shadow removal on the go, and specialized ID-photo tools focus on removing shadows in seconds for passport-style images.
Bulk-processing features support shadow removal across multiple images at once, making it practical to process a full product catalog—say, 50 e-commerce shots—in one batch.
For most readers, an AI-powered photo shadow remover is the quickest, most user-friendly interface to start with before considering any manual edit.
How to Remove Shadows from Portraits and Selfies
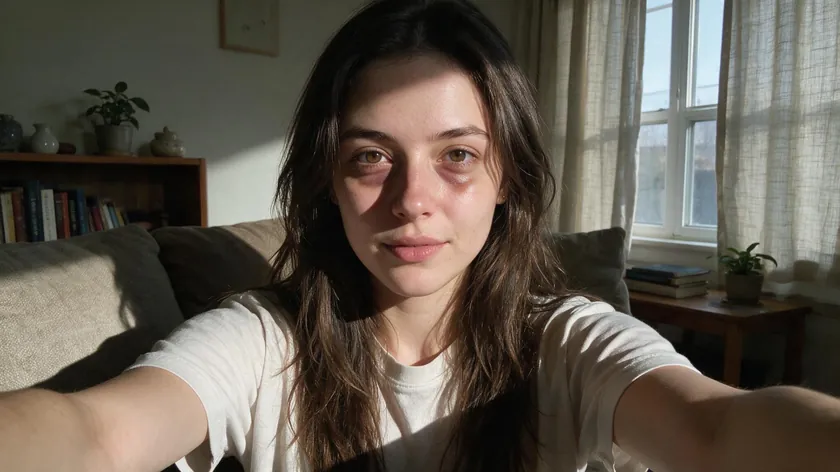
Face shadows look bad because they create visual weight where you don’t want it—deep under-eye darkness (“raccoon eyes”), a nose shadow crossing the cheek, or jawline shadows that make the body of the face appear heavier. These issues matter for social media, LinkedIn headshots, and passport photos alike.
AI tools can automatically correct uneven lighting in portraits. AI-powered portrait tools allow one-click shadow removal, correcting face shadows automatically and targeting skin tones without washing out highlights.
AI selfie-editing tools detect and eliminate unwanted shadows around the eyes and along the jawline, enhancing the photo without altering natural features.
After AI correction, a small boost in brightness and highlights—plus a gentle reduction in contrast—can fine-tune the result. Avoid heavy beauty filters; the goal is natural skin texture, not a plastic look.
For compliance images like biometric passport photos, keep facial features clearly visible. No unrealistic smoothing, no altered hairline—just even light across the face.
Removing Shadows from Passport Photos and ID Pictures
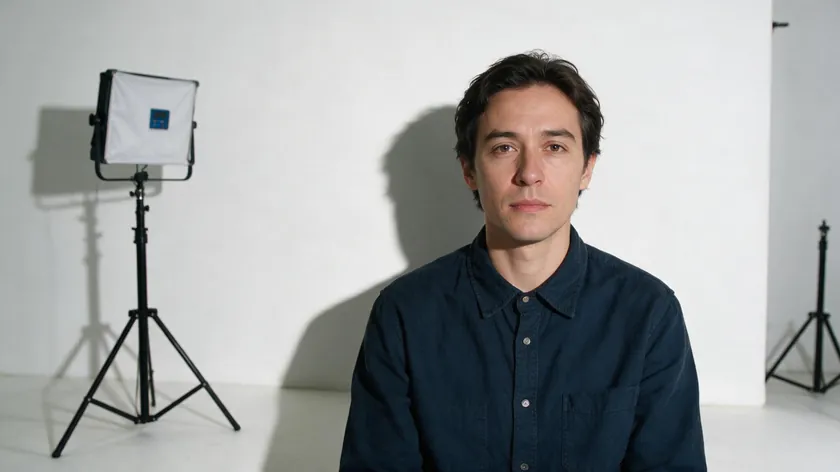
Many countries now reject passport photos with shadows on the face or background. UK rules specify “balanced light—no shadows on your face or behind you” and recommend standing at least 50 cm from the background to reduce wall shadows.
Even lighting is essential for passport photos, and official requirements across the US, Canada, and Germany are similarly strict about neutral, uniform backgrounds.
Common problems include dark shadows on the wall behind the head from a single lamp, uneven light from a window frame, or a sharp shadow crossing the face from overhead lighting.
A dedicated photo shadow remover or AI tool can adapt lighting to meet these rules: brighten the face evenly, smooth background shadows, and maintain neutral color correction.
| Shadow Issue | Before Correction | After AI Shadow Removal |
|---|
| Under-eye shadows | Dark patches beneath eyes | Even skin tone, features visible |
| Side-of-face shadow | One cheek noticeably darker | Balanced lighting across face |
| Background shadow | Dark area behind head on wall | Uniform, clean background |
| Nose shadow across cheek | Harsh diagonal line on skin | Shadow softened, natural contrast |
Over-editing can make a passport photo non-compliant—shadow removal should be subtle and realistic and never alter identifying features.
How to Remove Shadows from Product Photos and Flat Lays
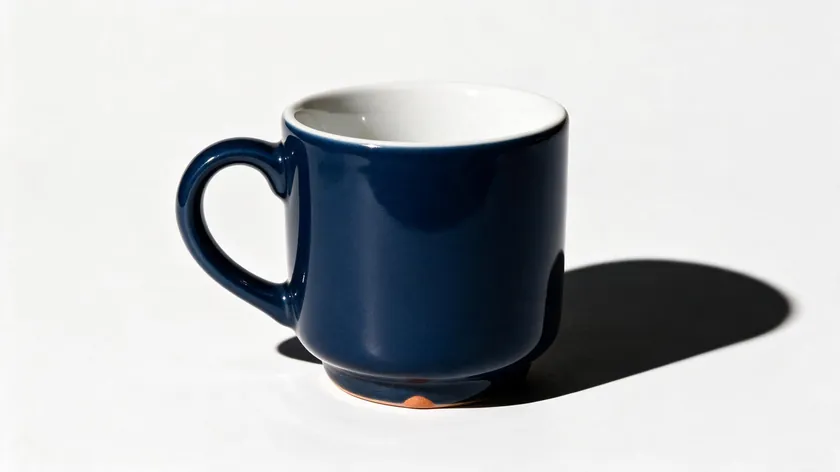
For product photos—cosmetics on a white background, shoes on a light gray backdrop, electronics on a wood table—harsh shadows can look cheap and inconsistent across a catalog.
Proper lighting enhances product images for online sales, and AI shadow removal tools enhance product images for e-commerce by automatically detecting and correcting drop shadows.
The workflow is straightforward: upload your product photos, choose a product or background shadow removal mode if available, and let the AI lighten or erase unwanted shadows while keeping edges sharp. Bulk-processing tools allow shadow removal from multiple images at once, which is invaluable when processing dozens of SKUs for a store page.
If those product shots started out as green screen photography, see our guide on removing a green screen from an image before correcting any lingering shadows.
For example, evening out a heavy shadow beneath a coffee mug shot for Etsy, or cleaning shadows from a jewelry flat lay photographed by a window.
E-commerce marketplaces generally prefer almost shadowless images, while lifestyle shots benefit from a soft shadow that adds depth. Consistent shadow removal across a full catalog makes a brand look polished—other apps and manual methods can supplement AI when specific objects need extra attention.
Manual Shadow Removal Basics for Users with Some Editing Skills
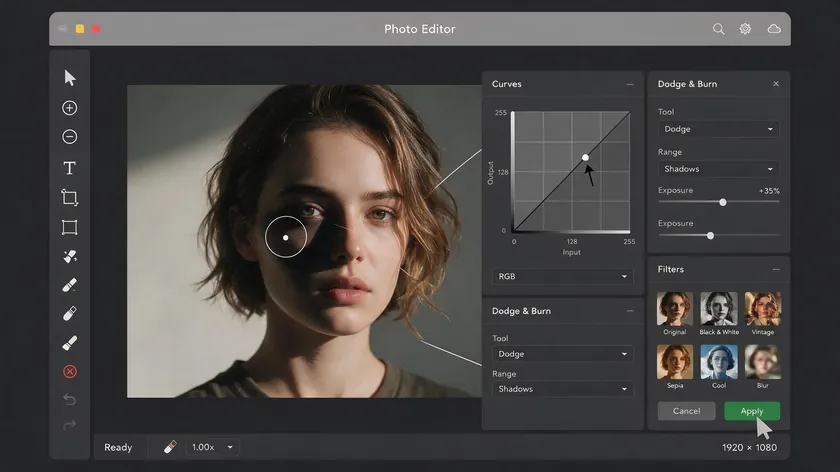
While AI tools handle most cases, some images benefit from manual edits—especially around fine detail or when the camera captured extremely dark areas with noise. A combination rather than a single tool often yields the best results in removing shadows.
For teams that already pay for a full desktop suite like Photoshop, these techniques integrate into existing workflows.
Use shadows and blacks sliders to brighten only the dark areas without blowing out the highlights. Curves adjustment layers can lighten shadows instead of erasing them completely—drag the lower-left portion of the curves line upward to lift shadow tones while leaving midtones and highlights untouched. This approach lets you adjust exposure precisely across tonal ranges using layers.
Selective Adjustments: Radial and Gradient Filters
Radial and gradient filters let you isolate a specific region—around a chin, under a product, or along one side of a face—and raise exposure, shadows, or brightness there without affecting the rest. Screen Blending Mode can also adjust lighting uniformly in shadowed portraits when applied to a duplicate layer.
Dodge and Burn
Dodging lightens a shadow line along a nose or under an eye socket; burning gently darkens over-bright spots so the image looks balanced. Keep brush opacity at 5–15% for smooth transitions. Dodge and burn techniques can produce excellent results on portraits when applied patiently. Paint with white on a 50% gray layer set to Soft Light blend mode for fully non-destructive control.
Clone and Heal Tools for Textured Backgrounds
For patterned or textured backgrounds (tiles, fabric, wood grain), the clone tool and heal brushes rebuild texture after shadow removal. Content-aware fill tools (available in full desktop editors like Photoshop for teams already paying for that suite) can replace shadow pixels with surrounding texture effectively, and patch-style tools work best for flat or textured backgrounds.
Generative-fill features in paid desktop suites can even create multiple lighting-corrected variations of an image for comparison. This kind of manual texture work is time-consuming, but it’s often essential for matching fine detail against the original surface.
Preventing Bad Shadows When You Take the Photo
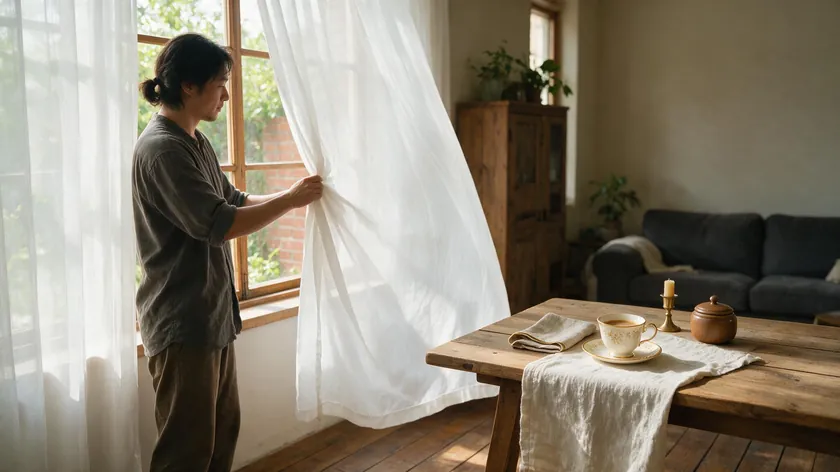
The easiest way to rid yourself of shadow problems is to avoid creating them in the first place. Natural light helps avoid harsh shadows in outdoor photography—face a window with a thin white curtain to diffuse the light, and shadows become soft enough that minimal editing is needed later.
Practical tips for better-lit photos at the moment of capture:
- Move a subject closer to a window for softer, more even light. Avoid standing directly under ceiling spotlights that create deep eye sockets.
- For passport-style shots, step at least 50 cm (about 1.5 feet) away from the wall to minimize background shadows. Never use a direct flash pointed straight at the face.
- Use a white foam board or a sheet of printer paper on the shadow side to bounce light back and fill in dark areas on faces or small products.
- Shoot several test images and check for shadows on the face, background, and key product surfaces before committing to a final shot.
Getting light right at the source saves significant retouching time and ensures every later edit—whether by AI or manual filters—starts from a stronger foundation.
Key Takeaways
- Shadow removal focuses on fixing lighting issues—on faces, products, and backgrounds—without deleting the background itself.
- AI tools and browser-based photo shadow removers provide the quickest way to remove shadows or brighten shadow areas, even if you have no editing skills.
- Portraits, passport photos, and product photos each have specific shadow problems, and understanding these helps you choose the right level of shadow removal.
- Manual tools like curves, selective adjustments, and dodge and burn are useful for fine-tuning when AI results are not perfect or when you need pixel-level control.
- Good lighting at the time of shooting—soft, even, and well-positioned—reduces harsh shadows and makes every later edit much easier.
To start removing shadows from your own pictures right now, open your browser, upload a portrait, passport photo, or product shot to RemoveBackground.app, and compare the before-and-after results in seconds.
FAQ
Can AI really remove all shadows from a picture?
AI tools work best on common shadow problems—under-eye shadows, strong nose shadows, drop shadows on simple backgrounds, or uneven lighting on walls. Extremely complex shadows, like detailed tree branches across a face, may still need manual retouching.
Results depend on image resolution, noise level, and how dark and large the shadows are. Sometimes softening shadows produces more natural-looking results than trying to erase them entirely, especially in low-light images where lifting dark areas can reveal grain or blur.
Is it better to remove shadows completely or just reduce them?
For commercial product photos or certain passport photos, nearly shadowless images are often ideal. For portraits and lifestyle shots, a slight, natural shadow adds depth and realism.
Start with subtle shadow reduction and only go to full removal if required by style guidelines or official photo requirements—this keeps images from looking flat or artificially lit.
Will removing shadows lower the quality of my image?
High-quality AI tools aim to preserve original resolution and texture, but aggressive edits—especially heavy brightening of very dark, noisy areas—can reveal grain or reduce contrast.
Work on a copy of the original file, zoom in to check fine detail after shadow removal, and make smaller, layered adjustments rather than one extreme change. This protects the image while giving you access to good results.
Can I remove shadows from scanned documents or handwritten notes?
Shadow removal also works for documents—like a scanned contract with a spine shadow or a notebook page photographed under a desk lamp—but the goal is legibility, not artistic quality.
Brighten the page background, reduce shadows along the fold or edges, and ensure that text contrast stays strong enough to read or run through OCR software.
Do I need professional editing skills to remove shadows well?
For most everyday tasks—cleaning up selfies, basic passport photos, or simple product photos—no advanced editing skills are needed if you use an AI shadow remover.
Learning a few manual techniques, like using a shadows slider or a simple brush to fine-tune difficult images, helps when AI alone doesn’t get a perfect result. But beginners can still get good results with AI-powered tools alone, making shadow removal accessible to everyone.