
Removing background from photo means separating the subject—a person, product, or object—from everything behind it so you can place it on white, a solid color, or a transparent canvas.
Background removal is essential for photo editing and enhances the focus on the subject, whether you are prepping a headshot, a product shot, or a logo for reuse.
There is no single right method. It depends on your device, your software, and how perfect the edges need to be. This guide compares every major option so you can pick the right one for your situation in under a minute.
Table of Contents
What “Removing Background from Photo” Actually Means

At its simplest, removing background from photo means taking the subject and completely discarding the original scene behind it. The result is either placed on a new backdrop or left transparent for flexible reuse.
Many tools exist for effective background removal, and techniques include manual selection and automated processes—from common methods involving lasso or magic wand tools to AI-powered detection for automatic cutouts.
You will sometimes hear related words today like “cutout,” “knockout,” or “transparent background.” Each reflects a slightly different context. For full definitions, see our guide on what it is called when an image has no background.
Here are sentence examples that illustrate real-world usage:
- An e-commerce seller removing the background from a T-shirt photo before uploading it to Amazon.
- A freelancer cutting out a headshot from a vacation photo and placing it on a muted backdrop for LinkedIn.
- A designer isolating a logo photographed against old furniture so it can sit cleanly on any slide or website.
- A web developer preparing PNG icons of animals or products for layered page designs.
- Background removal vs. shadow removal: Removing a full background is distinct from removing only an unwanted shadow or cast darkness from a picture. If shadows are your usual conflict, see our dedicated guide on how to remove shadow from picture, which covers that shift in effects separately.
All the Main Ways to Remove a Background (At a Glance)

Below is a comparison table summarizing every major method. This section does not contain click-by-click menu steps—each row links to a focused how-to spoke for the actual instructions. Removing backgrounds can be done using various software tools, and the right choice depends on your use case, skill level, and budget.
| Method | Best For | Skill Level | Hair & Complex Edges | Transparent Export | Cost | Platform |
|---|
| AI web tools (e.g., RemoveBackground.app) | Bulk product photos, quick portraits | Beginner | Good on standard edges; may leave halos | PNG with alpha | Free low-res: ~$0.20–$0.40/image at volume | Web |
| Photoshop / Affinity | Hero images, editorial, fine detail | Advanced | Excellent—channels, refined edges, and layer masking allows painting transparency over fine details like hair | Full control | Subscription or one-time license | Desktop |
| Built-in tools (PowerPoint, Word, Google Slides) | Slide decks and documents | Beginner | Basic—decent on simple scenes | Limited | Included in Microsoft 365 / free with Google Workspace | Desktop/Web |
| Paint | Quick simple cutouts on Windows | Beginner | Minimal | Limited | Free, built-in | Desktop |
| Canva | Social media, thumbnails, branding | Beginner | Moderate—Canva includes a built-in background remover suitable for graphics and presentations | Paid plans for transparent export | Free tier; Pro for full features | Web |
| iPhone (iOS 16+) | Mobile-first editing, on-the-go | Beginner | Good for people and pets | Via share/copy | Free, built-in | Mobile |
| Green screen / chroma key | Studio shots against solid backdrop | Intermediate | Very good when lit evenly; color range selection is effective for backgrounds of uniform color | Full alpha support | Requires physical setup | Desktop |
Professional software often automates background removal, but manual masking uses vectors or brush masks for detailed edge tracing when precision matters most. Adobe Photoshop is considered the gold standard for precision in background removal.
Common methods involve using the lasso or magic wand tools alongside more advanced selection features. Background removal is essential for professional image editing across every entry style in this table.
How to Choose the Right Background Removal Method for Your Situation
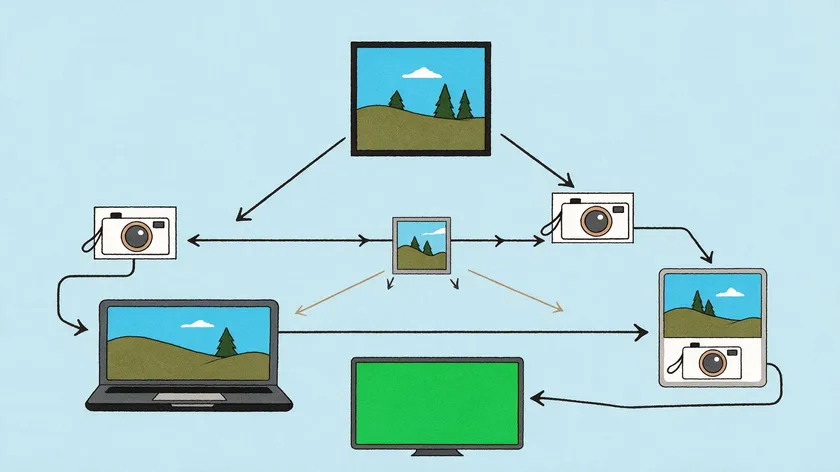
The goal here is decision-making, not teaching the mechanics. Answer a few practical questions—how many photos, what device, and how perfect the edges need to be—and follow the link to your focused guide.
For the universal step-by-step workflow—select subject, refine edges, export—see our spoke on how to cut something out of a photo rather than repeating those steps here.
Whichever situation fits you, the linked guide above has the exact steps—no need to piece them together from scratch.
What AI Background Removers Can (and Can’t) Do for You

AI tools for removing background from photo became mainstream around 2020–2024. By 2026, these tools handle most standard product and portrait shots with little to no manual cleanup needed.
Background removal can utilize AI-powered detection for automatic cutouts, making the process accessible to anyone with a phone or browser.
Advantages:
- Near-instant results—seconds, not minutes of effort
- No design skills required; just upload and download
- Good default handling of hair and fur on most head-and-shoulders portraits
- Simple PNG downloads that retain transparency
Limitations:
- Automatic tools can leave halos or remove small details during background removal, especially with motion blur or very busy scenes
- Semi-transparent objects like glass, lace, or smoke remain a threat to clean output
- Paid tiers often required for HD or batch processing—free tiers can cap resolution at ~0.25 megapixels
- Privacy concerns exist when uploading sensitive images to cloud services
Real-world usage examples: small business owners cleaning up product photos for marketplaces, freelancers creating thumbnail assets in a coffee shop between meetings, and teachers creating cutout illustrations of animals for school slides.
When results look rough, a hybrid workflow—AI first, then manual refinement—can overcome most edge issues.
Beyond Background Removal: Transparent PNGs, Logos, and Green Screens
Removing background from photo is usually just step one. The next step is deciding how you will reuse the cutout—and the output format matters.
Transparent PNGs
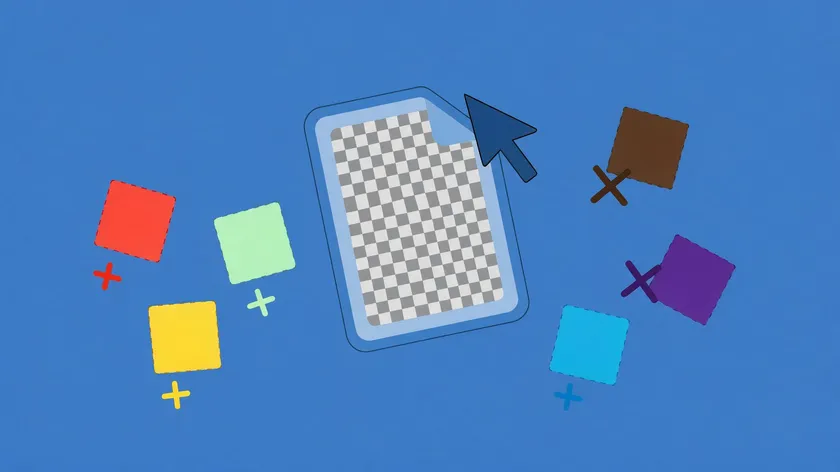
If you need your image to sit on multiple different colored backgrounds or be layered in a web design, you need true transparency. Exporting as PNG retains transparency in cutouts after background removal. See our guide on how to save an image with a transparent background for exact export settings across every major tool.
Logos
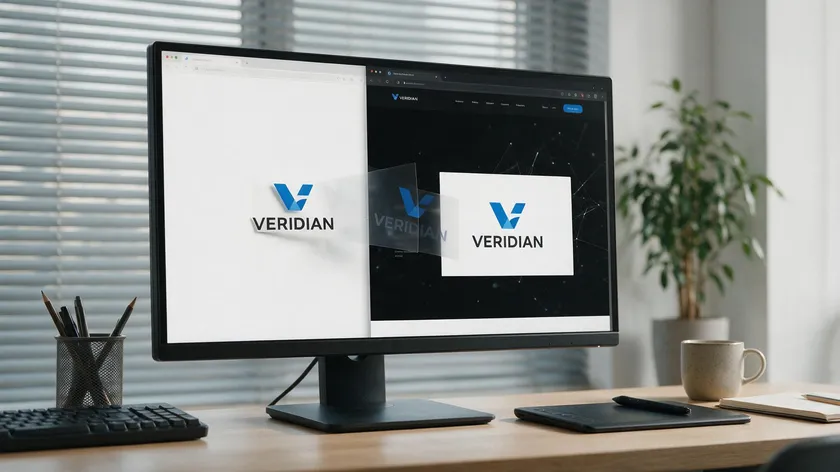
Logos often start life on a white or colored surface—scanned from a business card, photographed on a coat or a concrete wall, or exported from an old file. Creating a clean, transparent version is critical for sites, merchandise, and slides.
See how to make a logo transparent for the full walkthrough. If you see a gray-and-white checkerboard grid after removing the background, that is simply how editors visualize transparency—our checkerboard PNG guide explains what to do next.
Green Screens
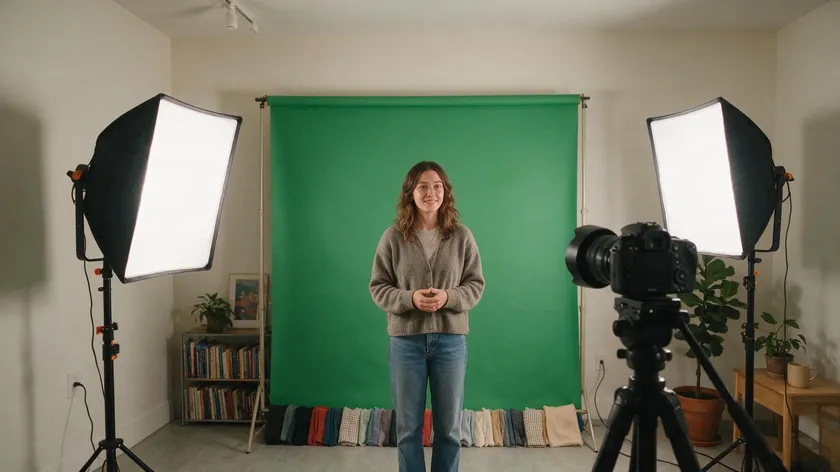
If your subject was shot against a solid green or blue backdrop in a studio, chroma key tools are often more precise and efficient than general background removal. This method uses color-based keying rather than AI subject detection, and it works best when lighting is even and color spill is controlled.
See our guide on how to remove a green screen from an image for the dedicated workflow—we do not cover keying thresholds or software-specific settings here.
Language Focus: Using “Removing” and Related Vocabulary in Context
The verb remove and its present participle form removing appear constantly across photo-editing tools and tutorials. Understanding these words helps you navigate any software interface or follow instructions in any language version.
Here is a compact vocabulary list of relevant terms—not a full dictionary or thesaurus, but enough to dismiss confusion:
- Remove (verb): to rid an image of unwanted elements completely
- Erase: to wipe away, often with a brush tool
- Isolate: to separate the subject from its surroundings
- Cut out (noun: cutout): the reciprocal part of removing – the object you keep
- Crop out: to trim an image’s borders, sometimes confused with background removal
- Extract: to pull the subject from its location within the frame
- Knock out: older printing jargon for making a background area transparent
- Make transparent: the outcome when the background is gone forever, leaving only the subject
Here are several example sentences that illustrate real-world usage: “I am removing the busy background from this product shot before uploading to Amazon.” “The designer is cutting out the model from the photo and creating a transparent background for the 2026 catalog.”
They removed the green screen in post-production to place the streamer in a digital house.
The present participle removing functions both in continuous tenses (“I am removing the background now”) and as a modifier (“removing background from photo is the first step”). This vocabulary reflects how new words and synonyms shift in meaning depending on context, without turning this section into a full dictionary entry.
Understanding this vocabulary helps you follow tutorials and interface labels across any tool, without needing a full dictionary entry to keep up.
Key Takeaways
This page is a decision guide for removing background from photos, not a step-by-step tutorial. It routes you to the best tool or method for your situation based on your device, skill level, and quality needs.
- Choose between AI background removers, manual pro tools like Photoshop, built-in office tools (PowerPoint, Word, Google Slides, and Paint), design apps (Canva), and mobile options like iPhone Photos.
- AI tools are fastest for most people—they handle most standard product and portrait shots with little to no manual cleanup needed.
- Manual methods give pixel-perfect control for complex images with hair, jewelry, transparency, or shadows.
- A dedicated green screen workflow exists for studio shots, and a separate process covers removing only shadows—both linked above.
- Use the comparison table and the “if this, then that” decision section to pick your method in under a minute, then follow the linked guide.
Whichever method you choose, the comparison table and decision guide above narrow it down fast—so you spend your time editing photos, not researching tools.
Ready to try it yourself? Upload a photo to RemoveBackground.app and get a clean, transparent cutout in seconds—no software, no learning curve.
FAQ
Do I always need a transparent background, or is white enough?
A transparent background is best when the image will sit on multiple different colors or be layered in designs. A simple white or solid-color background is often enough for marketplace listings, documents, and many social posts. Our guide on saving images with transparent backgrounds covers format choices in depth.
Can I remove a background from photo using only my phone?
Yes. Modern phones—especially iPhones with iOS 16+ and current Android flagships—can remove backgrounds directly via built-in features or free apps. It is realistic to do the entire process mobile-only. See our dedicated iPhone guide for the walkthrough, and look for similar tools on Android.
What should I do if the AI background remover leaves messy edges?
Try uploading a higher-resolution source image, improving contrast between the subject and the background, or doing a quick manual cleanup in a more advanced editor like Photoshop or GIMP. Our guide on how to cut something out of a photo explains the refine-edges step you can combine with AI results.
Why do I see a gray-and-white checkerboard after removing the background?
That checkerboard pattern is just how most editors display transparency—it is not a real part of the image. See our checkerboard PNG guide for details on how to export and use that transparent image correctly.
There is no universal best option. Casual users and small businesses often get the fastest results with AI web tools. Designers prefer full editors like Photoshop for control over every pixel.
Office users may be happiest with built-in options in Word, PowerPoint, or Google Slides. Consult the comparison table and decision section above to match a tool to your situation.