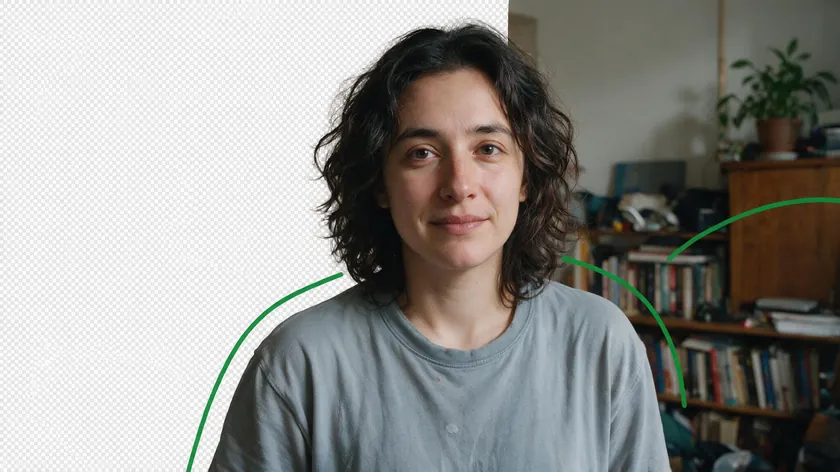
Cutting something out of a photo means isolating a subject (a person, a product, a pet) from its surroundings, removing the rest of the background, and exporting the result with transparency so it can be reused anywhere.
Three methods dominate this process today: manual selection in a photo editor, built-in tools on your phone or device, and AI background removal tools like RemoveBackground.app. Of the three, RemoveBackground.app is the easiest way to get a clean cutout in seconds without any design skills.
Table of Contents
What “cutting something out of a photo” really means
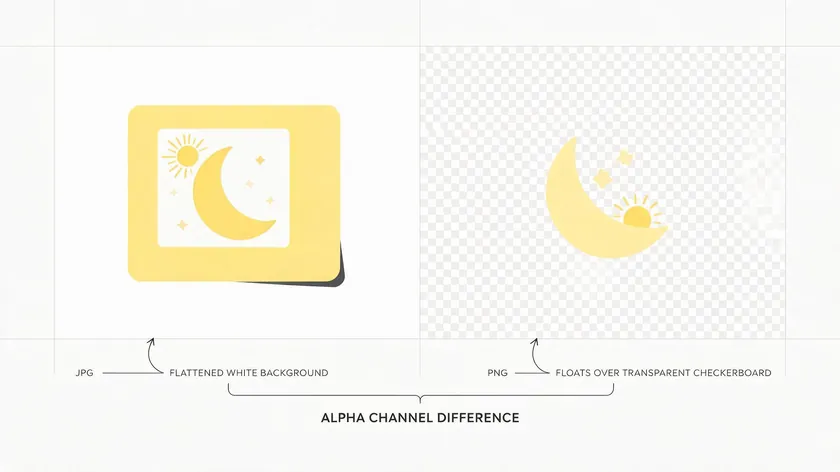
A cutout is your subject isolated from its original surroundings and placed on a transparent background. The file format that preserves this transparency is PNG, which stores an alpha channel telling each pixel how opaque or see-through it should be. A JPG, by contrast, flattens everything onto a white or colored background.
Whether masking or background removal applies depends on image complexity and the software used. A clean product shot against a white backdrop is simpler than a portrait where hair crosses a busy street scene.
Common use cases include isolating a person from a holiday photo for a LinkedIn headshot, removing a noisy kitchen background from a recipe image, or cutting a sneaker out for a Shopify product page.
The core workflow is the same everywhere: select the foreground subject, refine edges (especially around hair, glasses, and semi-transparent objects like glass), then save to a format that preserves transparency. The sections below cover the three main approaches and where RemoveBackground.app fits.
Three main ways to cut something out of a photo
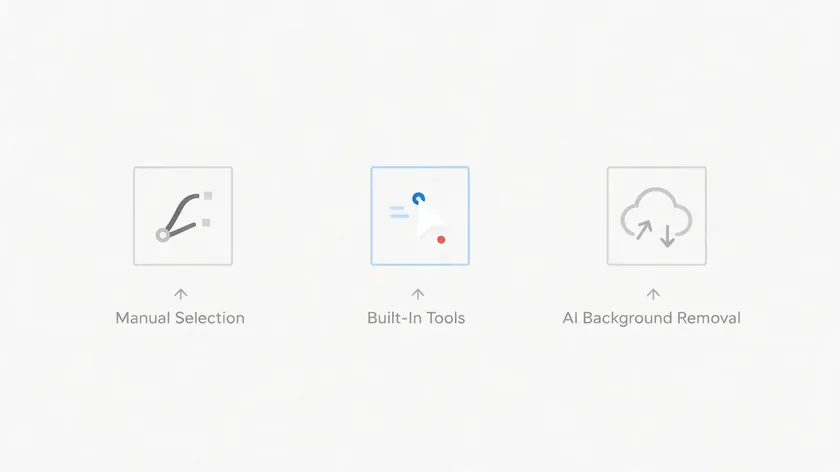
Every cutout tool falls into one of three categories. The right pick depends on your skill level, time budget, and how important edge quality is.
| Criterion | Manual selection (photo editor) | Built-in tools (phone/office apps) | AI background remover (e.g. RemoveBackground.app) |
|---|
| Speed | 5-20 minutes per image | Under 1 minute | 1-3 seconds |
| Skill required | High: pen tool, masks, feather settings | Low: one tap or click | Low: upload and download |
| Hair/edge quality | Best with expert refinement | Often loses fine detail | Near-expert quality on most photos |
| Best for | Designers with existing subscriptions | Quick tasks in slides or documents | Everyone else: sellers, creators, students |
A 2026 research report based on over 10 million edits found that AI-assisted edits now account for 74% of all photo editing sessions, up from 41% eighteen months earlier. Automatic subject selection is easiest for clear contrasts between subject and background, which explains the rapid adoption.
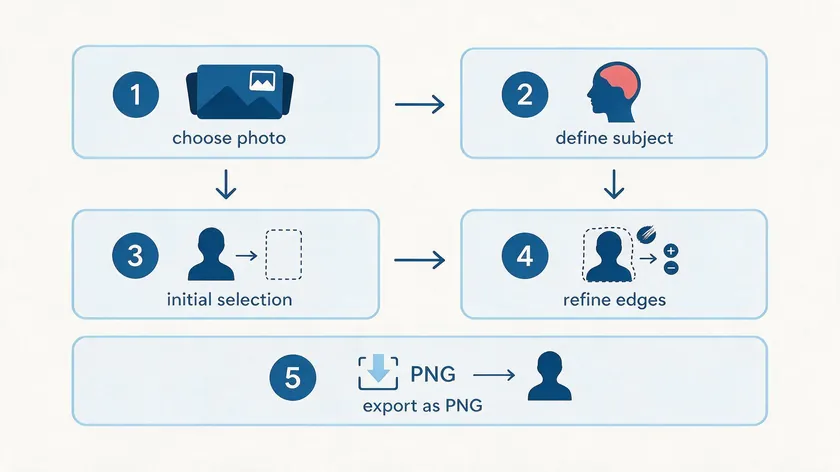
No matter which method you choose, the process follows five stages.
- Choose the right source photo. Capture or open the sharpest version available. A 2024 phone photo at full resolution will produce a cleaner cutout than a compressed 2010 image. Prefer images where the subject contrasts against the background.
- Define what you want to cut out. Decide whether you need just the person, the object on the table, or multiple items. Crop away unnecessary areas first to simplify the selection.
- Make the initial selection. Use a selection tool to outline the target object carefully. Zoom in, work around fingers and hair first, and check tricky spots like earrings or shadows under shoes. Selecting an object generously helps AI tools work better because they can refine inward.
- Refine edges and background. Inspect and refine the removal result for accuracy. Most tools hide the background with a mask rather than deleting pixels permanently. Duplicating your layer ensures the original image remains untouched, so you can adjust the feather, scroll through problem areas, and fix mistakes without losing data.
- Save and export correctly. Choose PNG for transparent backgrounds. Keep a full-resolution copy; never resize your only version down. If your tool allows layered or editable files, save one of those too.
You do not need to master every detail before trying an AI-based workflow. Tools like RemoveBackground.app handle steps 3 and 4 automatically, letting you skip straight from upload to download.
The choice comes down to control versus speed. Here is what each method does well and where it falls short.
Manual selection
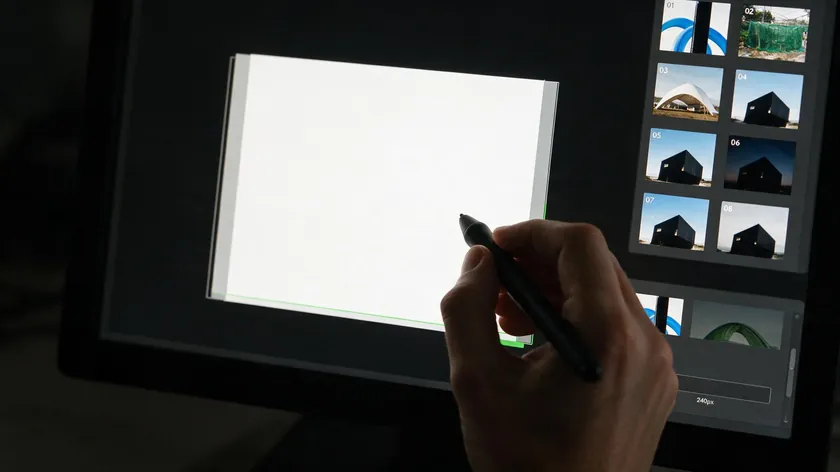
Desktop photo editors offer the pen tool, lasso, brush tool, magic wand, and quick selection. The Pen Tool creates vector paths for precise selections and provides the highest control for sharp shapes. The Quick Selection tool in Photoshop allows for easy selection adjustments by selecting pixels of similar color.
Photoshop’s Object Selection tool helps cut out objects easily when the subject stands out from the background. Foreground extraction tools are useful for hair and complicated edges, and the Select and Mask workspace helps refine edges for hair and fur.
You can use layer masks in Photoshop to refine cutout edges further. The Healing Brush blends textures and lighting automatically when you need to clean up the area around a cut. The trade-off: Photoshop requires multiple steps to create a cutout image, and the whole process demands practice.

Phone galleries and office apps (slides and documents) offer “remove background” buttons that handle simple jobs. Canva’s BG Remover tool cuts out backgrounds in seconds with one click.
The limitation: these features are often gated behind Canva Pro or similar subscriptions, and they may lose detail on hair or produce soft edges.
AI

AI background removers like RemoveBackground.app focus on one job: detecting the subject and removing the rest. PhotoScissors uses AI to automatically remove backgrounds, and PhotoScissors can handle complex backgrounds like hair effectively.
AI Auto-Removal works best for clean backgrounds with a clear subject. RemoveBackground.app runs in your browser with no software to install, processes images in seconds, and exports a PNG with full transparency.
Alternatively, teams already paying for Photoshop or Canva Pro may prefer handling cutouts inside those suites. For everyone else, an AI background remover is the default choice because it matches or exceeds built-in tool quality at a fraction of the time.
How to cut something out of a photo with an AI background remover
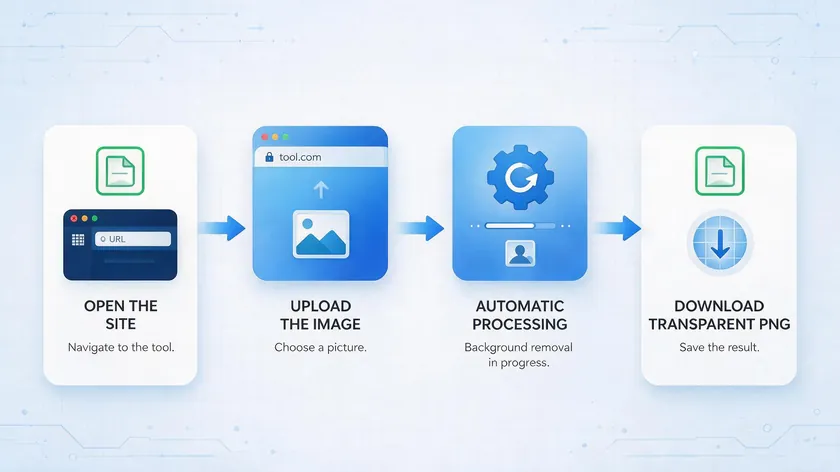
The process with an AI cutout tool takes four steps.
- Open the site (RemoveBackground.app, for example) in any browser on any device.
- Upload your image file by clicking the upload area or using drag and drop.
- Wait for the automatic background removal. The tool identifies the main subject, handles hair and semi-transparent materials, and strips the background in seconds.
- Download your cutout as a PNG with transparency.
RemoveBackground.app delivers fast, one-click cutouts with edge refinement built in, even on tricky areas like hair.
If the tool accidentally removes a section you want to keep (a hand or a scarf), most AI removers offer a restore brush to paint areas back. Focus on obvious problem areas only; chasing every single pixel is rarely worth the time.
Common goals the tool serves: creating profile photos, product images for an online store, social graphics, and collages where you reuse the same subject against different backgrounds.
AI background removal turns what used to be a 15-minute design job into a process that finishes before you can open your toolbar in a desktop editor.
Using your cutout on new backgrounds
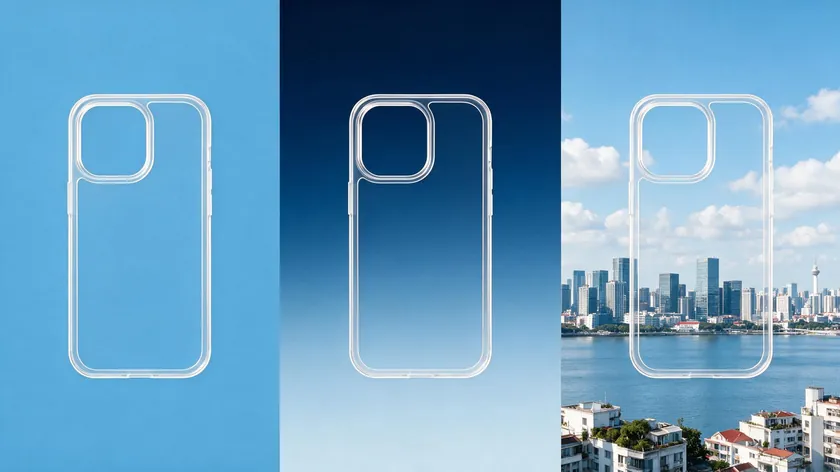
Once you have a transparent cutout, drop it into any design, presentation, or web page. You can place it over solid colors, gradients, or realistic scenes.
AI inpainting tools analyze surrounding pixels to fill gaps if you need to reconstruct parts of a scene, and content-aware tools generate matching background textures when compositing.
Keep composition in mind: match the lighting direction between subject and new background, avoid busy settings that compete with the main object, and rotate or resize the cutout to fit the layout. Most slide and design apps accept transparent PNGs, so you can drag your cutout straight into templates.
Save a high-resolution master file (the full-pixel PNG) so you can play with filters, adjust settings, or create a video thumbnail later without running background removal again.
Key Takeaways
- Cutting something out of a photo is a three-step process: select the subject, remove the background, and export as a PNG with a transparent background.
- Manual selection in Photoshop or similar editors gives the most control but requires tons of time and skill. Photoshop requires multiple steps to create a cutout image.
- Built-in phone and office app tools are convenient but often lose detail around hair and fine edges.
- AI background removal through RemoveBackground.app delivers one-click cutouts that retain edge quality on hair, fur, and complex shapes.
- Background removal is essential for product photos on e-commerce sites, profile pictures, collages, and marketing materials.
- A good cutout preserves fine detail around hair, edges, and semi-transparent objects while keeping resolution suitable for web, social, or print.
- RemoveBackground.app lets you upload a picture, remove the background in one click, and download a polished transparent cutout ready for any project.
- Experiment with different replacement backgrounds to see how much a clean cutout can improve your portraits, product photos, and marketing design.
Try cutting out your first photo now
Upload a photo to RemoveBackground.app and see how fast the background disappears. You do not need prior editing experience. Start with a casual phone portrait you want to turn into a clean profile image, or grab a product shot you have been meaning to post on a marketplace listing.
If you already use Photoshop or Canva Pro, run the same image through RemoveBackground.app and compare the edge quality and speed. It is a fun, low-effort sign that AI cutouts have caught up to manual work for most everyday tasks.
FAQ
Can I cut something out of an old, low-quality photo?
AI background removal still works on older or compressed images, but expect softer edges and more visible artifacts. If the example is a 2008 camera phone picture, the low pixel count limits how clean any cutout tool can make the edges.
Choose the sharpest available version, and if the photo exists as a physical print, rescan it at 300 DPI or higher before running background removal.
Can I cut multiple objects out of the same photo?
Most AI tools detect a single main subject per pass. If you photographed three products on one shelf, you may need to crop each product individually and run background removal on each crop.
After the initial pass, you can restore accidentally removed areas with a brush, then export separate cutout files for each object. This gives you maximum flexibility for layouts, catalog pages, or collages.
How do I make sure my cutout looks good when printed?
Start from the largest original image file available. Avoid screenshots or social media downloads, which are often compressed to 72 DPI. Keep the cutout at its original pixel dimensions and let your print or layout software handle scaling for posters, flyers, or business cards.
PNG with a transparent background is the right working format; the final print file (usually PDF) will be generated by your layout tool using that cutout.
What if the background remover misses hair or fine edges?
Even strong AI models occasionally miss wispy hair or fur, especially when the background color is close to the subject’s hair color. Zoom into trouble spots and use a restore or erase brush if the tool provides one.
If the current photo produces poor results no matter what you try, a different source photo with clearer separation between subject and background will give every tool, manual or AI, better results.
Can I use cutouts in office documents and slide presentations?
Transparent PNG cutouts work in most document and slide apps released since 2013. Insert the PNG as an image, then resize and position it over colored shapes or photos. Do not paste from a chat app or screenshot, as that often flattens the transparency into a white rectangle.
If you have been using those apps’ built-in remove background buttons, compare the result to a cutout from RemoveBackground.app; the AI version typically preserves more edge detail for important presentations.